
Learn how to plant garlic in the fall for a hearty Summer harvest! Planting a large crop of garlic is a breeze with our easy instructions for a custom garden dibbler.

Garlic is an incredibly easy crop to grow. This is an excellent, low-maintenance vegetable that is perfect for those interested in learning to garden. With a small amount of planning and effort you can enjoy fresh, flavorful cloves of garlic for all your favorite meals.
How to Plant Garlic
Garlic is planted in the Fall when your summer harvest is over. Select a space in your garden that isn’t going to disrupt your spring and summer gardening plans. You will not harvest the garlic until the summer, so keep this in mind. To plant the garlic you follow a few simple steps:

- Prepare your garden by tilling the area several times so the soil is nice and loose. Be sure to mix in some compost as you till for best results.
- Prepare the holes for the garlic at least 2 inches deep, six inches apart.
- Break the garlic cloves into individual bulbs and plant each individually with the pointed side up.
- Cover with soil, water well, and top with a thick layer of mulch, hay, or straw.
When to Plant Garlic
The best time to plant garlic is in the fall, and this results in a late summer harvest. Garlic is influenced by the length of the day, so any time between late September and late November is when you should plant. Garlic only needs a few weeks of nice weather after it is planted to get established before winter. If you begin to see garlic peeking out of the mulch or straw cover the garlic with more mulch or straw.

Tips and Tricks for Planting Garlic
- Garlic grows best in well-drained, fertile soil. This is an ideal crop for a garden or raised bed.
- Make sure to plant the garlic with the pointed side up.
- Make sure to cover the area with mulch, straw or hay. This keeps the crop protected through winter.
How to use a Dibbler to Plant Garlic
A dibbler is small pointed tool that helps to create uniform holes for planting. This is a tool that comes in a few different forms. Sometimes it is a singular, handheld tool that makes one hole at a time.


Alternatively, it also comes in larger formats that allow you to prepare bigger garden spaces for planting. Below you will find instructions on how to make your own dibbler to make planting garlic a breeze.

Planting Fall Garlic with a Custom Dibbler
Equipment
- Drill or screwdriver
- Miter saw or circular saw
- Screws
Materials
For the Custom Dibbler
- 1 – ¼ x 8 x 30 plywood
- 2 – 2 x 6 x 12
- 1 – 2 x 4 x 30
- 1 – 1 x 1 x 72
For the Garlic
- Any variety you prefer I used Chenok Red Garlic. Be mindful not to separate the cloves until you are ready to plant.
Instructions
To make a Custom Dibbler
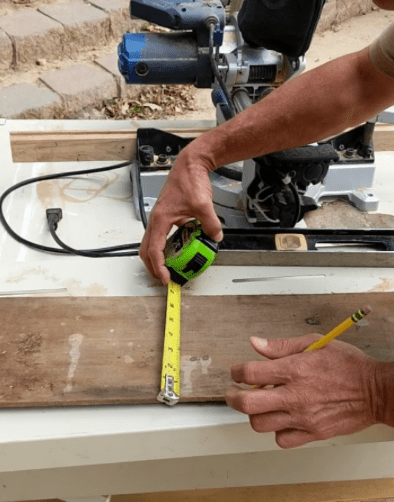
- Measure and cut as many teeth as you will need for your dibbler. I had a length of 1 x 1 material laying around. If you do not you can purchase the 1 x 1 x 8 or use a table saw to rip down 2 x lumber for the teeth. Teeth 4 to 5 inches long will be fine for garlic which should be planted two inches deep.

- Measure the base and mark each position where a tooth will be placed, garlic should be planted 6 inches apart.

- Now that the dibbler has teeth you are ready to add your step platform to the dippler. Be sure to place them evenly over the teeth and leave room between them to install a handle.

- The handle will be secured to the base between the two 2 x 6’s.

- The soil should be well tilled with several inches of compost added during the tillage. Garlic does best in well drained soil that has been worked well, this will allow the template to make well defined holes and for better soil to seed contact. Don’t let the soil get too dry, moist soil will yield better results.

To Plant the Garlic
- Don’t separate the cloves until you are ready to plant, this will prevent the garlic from drying out. Planting garlic is the easiest thing you will do in a garden. The seeds are large, the weather is cool and this will be one of your last chances to enjoy planting for a while.

- Be sure to cover the garlic with 2 or 3 inches of dirt and keep the area well watered.

- Now you should cover your garlic with about four inches of loose mulch, straw or hay. Water it well and keep it well watered until the garlic is nearing harvest.

[…] How to Plant Garlic […]