
DIY Birch Branch Wreath
This DIY Birch Branch Wreath is the perfect way to affordably get the farmhouse look for any room in your home!
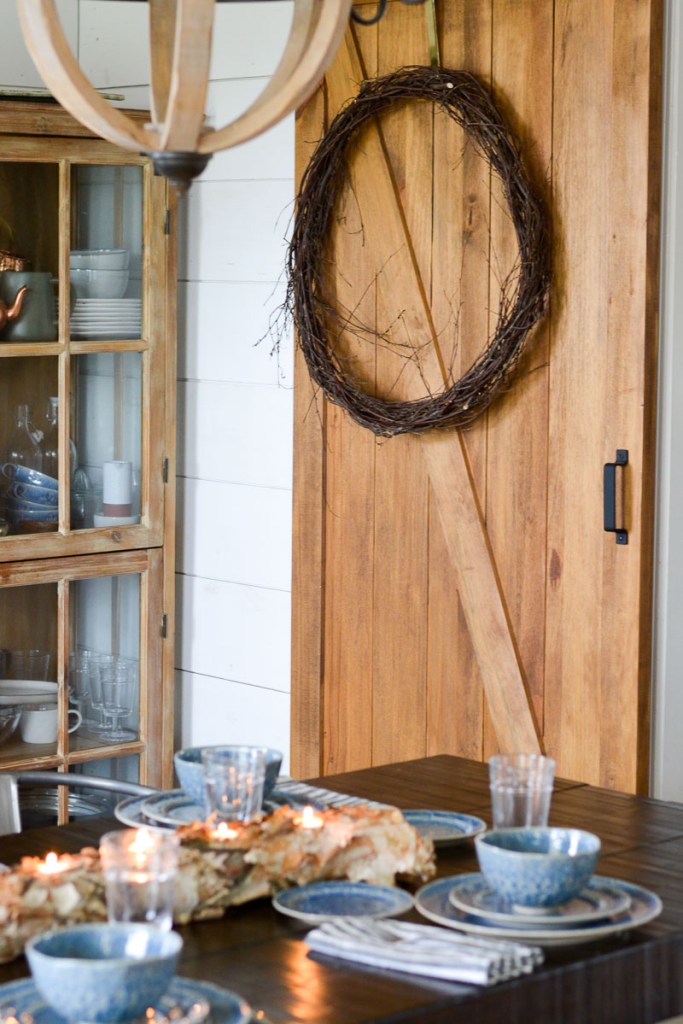
This rustic wreath will add a natural, farmhouse feel to your holiday decorating! This tutorial will show you just how to make a DIY Birch Branch Wreath that allows you to create just the look you want for your home! You can adjust the size, thickness and shape of this wreath making it fit perfectly in any space!
This easy branch wreath is an affordable DIY project that you can make in just an afternoon. Enjoy a simple, rustic look with just the branches, or add florals, ribbon, or holiday accents!
You could also take a nature walk (peaceful and healthy as an adult, fun and educational as a child!) to find beautiful leaves to decorate your wreath. Here are some printable scavenger hunts and children’s activities you could do on your walk, too!

Materials Needed for a Branch Wreath
This project can be completed with a few tools you probably have in your garage! Aside from that simply take a walk and gather some limbs that have the look you are going for!
I used Birch branches for this project, but this can certainly work with any other variety of branches that are flexible. Perhaps try mixing a variety of branches for a really unique look! For this project you will need:
- Limbs and Branches
- Pruning Shears
- Axe
- Tape Measure
- Twine

How do you make a Branch Wreath?
This is an easy DIY project you can easily do in an afternoon. There are many possibilities with the size, shape or variety of branch you use. You simply need to follow these five steps in order to have a beautiful wreath for any season. At the bottom of this post you will find step by step instructions, photos and a video, but the general overview is as follows:
- Select limbs and branches that have the desired look you want to achieve.
- Remove the leaves and strip the limbs bare.
- Gather the limbs in a bundle and use twine to hold it tight. Braid the limbs together, adding additional limbs as you go to create the look you want to achieve.
- Combine the ends with twine to create a complete circle.
- Add any additional limbs to create a more full look.


Affordable DIY Projects
This wreath is an incredibly affordable DIY project because it just uses limbs, which are available for free just outside your door! If you think outside the box you may realize there any many fun and creative projects you can do without breaking the bank. Some ideas include:


- Scrap Wood Pumpkins: a fun Fall project that you can do with scrap wood you probably already have on hand.
- Birch Candlesticks: another amazing craft that can be a fun centerpiece, décor or gift!
- Changing Seasons Crafts: while not exactly a DIY project, this is a fun, inexpensive craft for kiddos!
- Want more? Here’s a great roundup of easy DIY gifts you could make!

DIY Birch Wreath
Equipment
- Measuring tape
- Axe
- Pruning Shears
Materials
- Branches and Limbs
- Twine
Instructions
- Select the limbs and branches that you think will be easy to work with and make the best wreath possible.

- Strip the leaves from the limbs.

- You will need to know the size wreath you would like to build. Take that number and multiply by 3.15 this will provide you with the length of braided limbs needed to build your wreath. For example: A 22 inch wreath will need a 69.3 let say 70 inch length of braided limbs.

- Braiding the limbs together works the same as braiding hair or lanyards but the limbs are a little stiffer. Add limbs each couple of crossovers. If you aren’t sure about braiding take a look at this link on youtube.
- Once you have created a braid long enough to make your wreath you are ready to complete the circle. This is a little tricky, you will need to braid the finer ends of the limbs into the heaver ends that you started with. I cheated and tied the braided limbs together about 18 inches up from the beginning. This prevents the braids from unraveling while I bring the two ends together.

- Once you have your basic wreath put together now you can begin filling in the wreath with smaller limbs until you have the depth of the wreath to your liking.

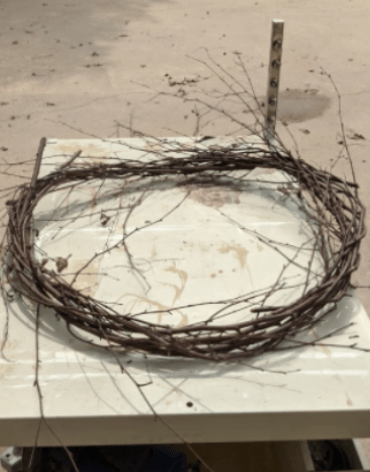
- This is the wreath finished in its basic form. This wreath is about 32 inches across and 3 inches in depth.

Video


3 Comments
Comments are closed.